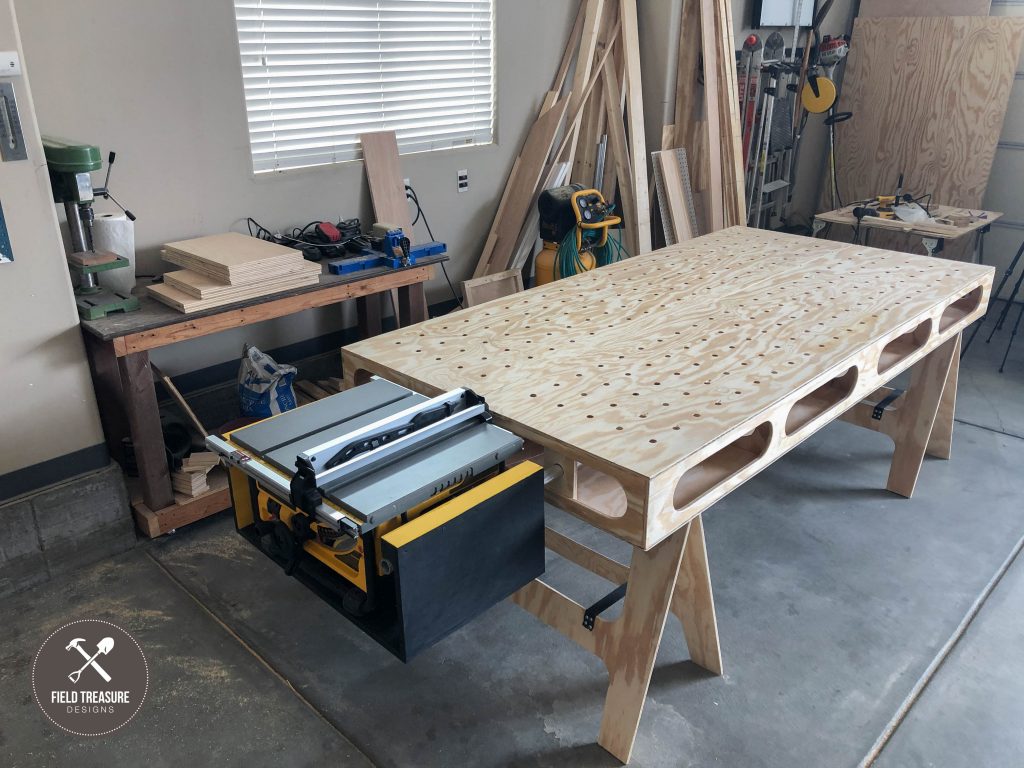
Building the Paulk Workbench, Part 2 | Main Torsion Box
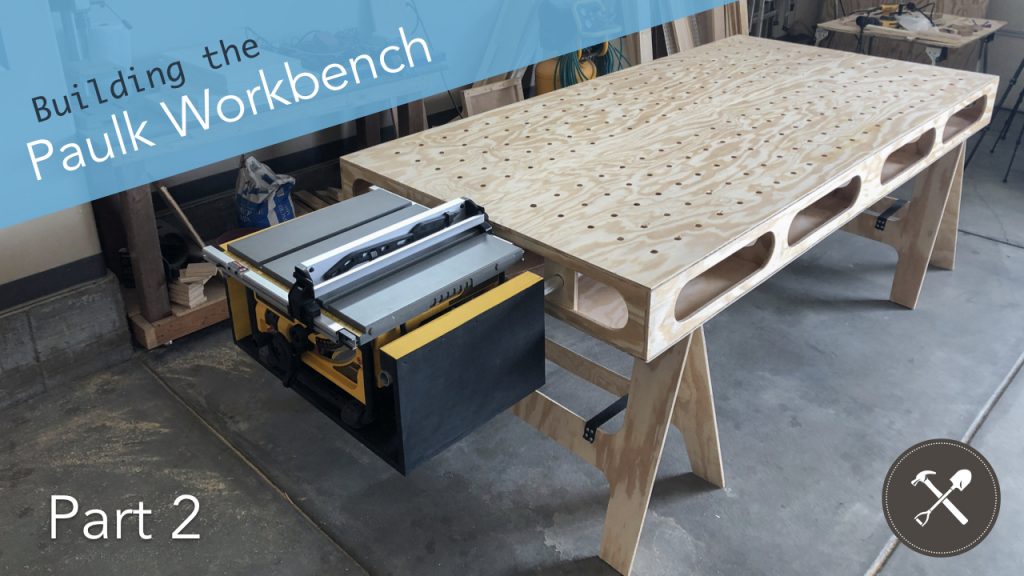
This is Part 2 of my multi-video series showing you how I made my Paulk Workbench! This workbench was designed by Rob Paulk who has a ton of experience with contracting and woodworking, and his design represents his knowledge of both great utility and mobility. The two-part top allows it to fit in a van or a truck, and makes it easy to move around the shop or take on site. It’s also incredibly sturdy! I documented my entire build and I’m excited to bring you this comprehensive, instructional, multi-part video series on how to make it! I hope it helps you as you make your Paulk Workbench or a variation that fits your needs.
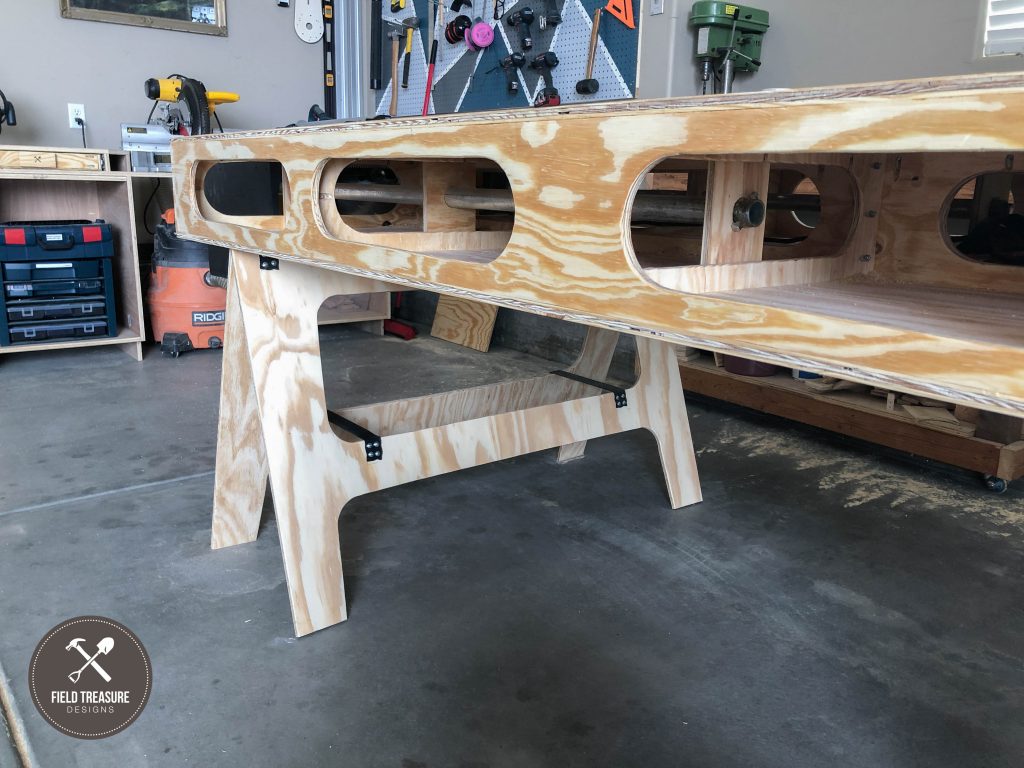
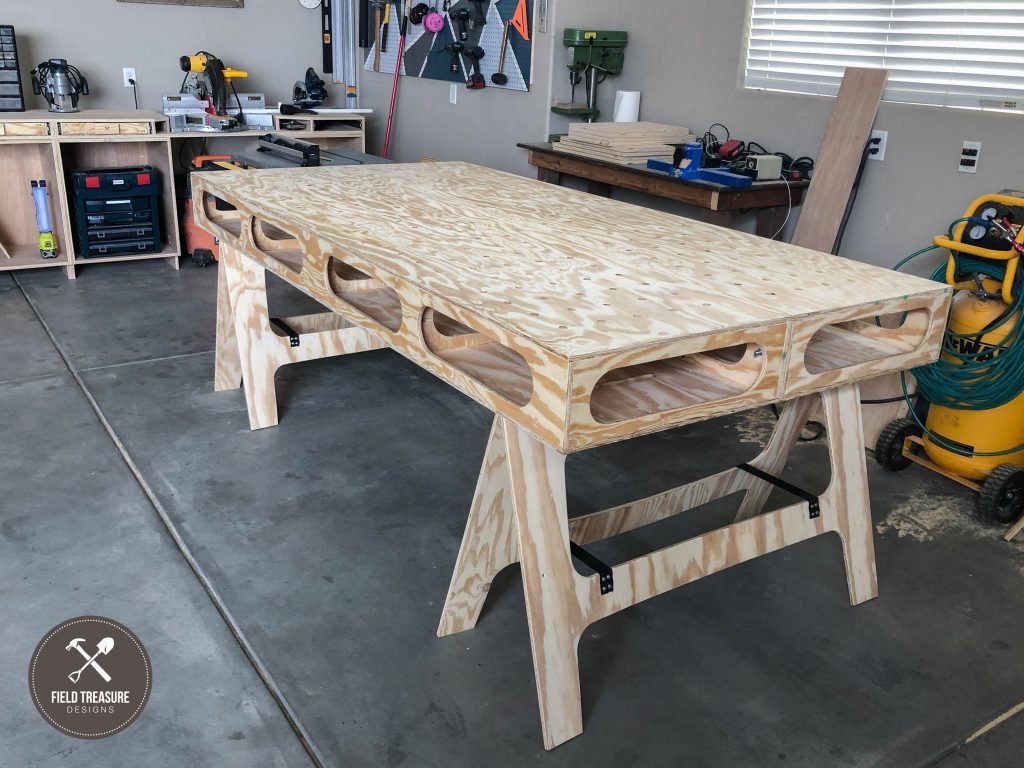
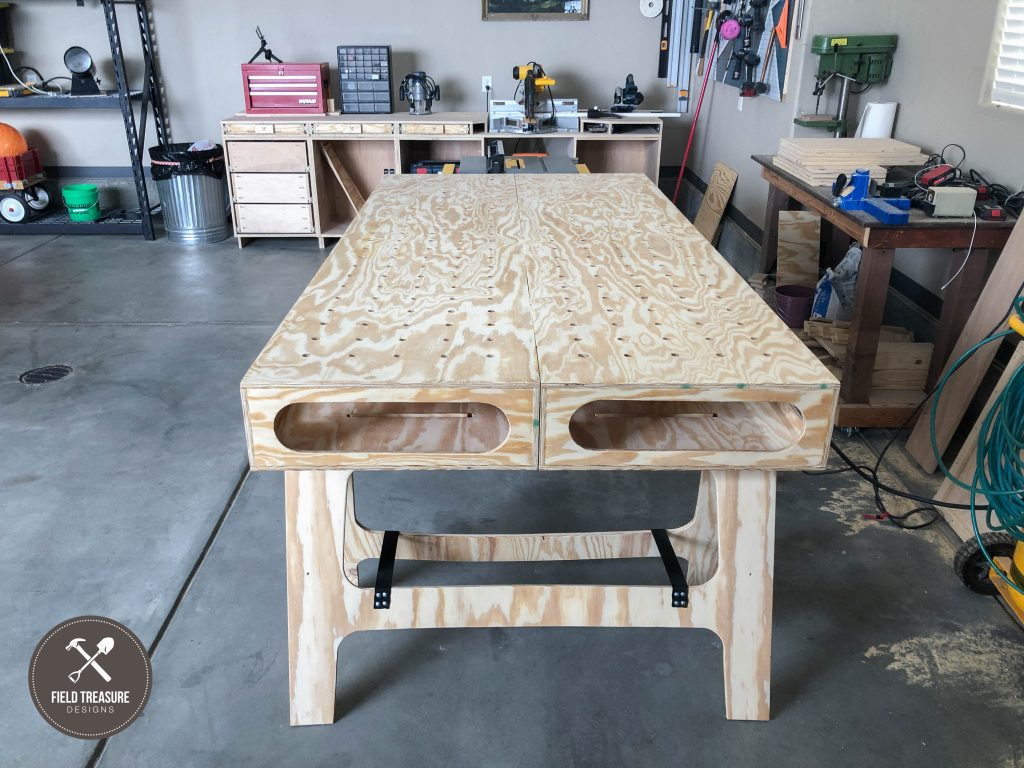
Part 2 of this multi-video series focuses on the main torsion box body, top and bottom of the workbench/assembly table. (You can learn more and download the plans on the Ron Paulk Website here: http://www.paulkhomes.com)
/
SUBSCRIBE to my channel here: http://bit.ly/2LQB1gi
__________
////// MATERIALS USED
(1) 4’ x 8’ 1/2” Foam Insulation Panel
(5) 4’ × 8’, 1/2” Plywood
1″ Pocket Hole Screws
Titebond Wood Glue
(2) 1″ x 8′ Galvanized Pipe
////// TOOLS USED
DeWalt DW745 Table Saw: https://amzn.to/2Mb25Xv
DeWalt Miter Saw: https://amzn.to/2SCxN2y
Bosch Circular Saw: https://amzn.to/2GJnPt3
Kreg Rip Cut Guide: https://amzn.to/2EgrhtC
4’ Level: https://amzn.to/2X78RCG
Stanley Powerlock Tape Measure: https://amzn.to/2IlJhGM
Milwaukee 4 1/2” Hole Saw: https://amzn.to/2Eh4RIx
Bosch 12v Jigsaw: https://amzn.to/2DThxUq
Random Orbital Sander: https://amzn.to/2SBg5My
Sanding Discs: https://amzn.to/2M98HWy
Bosch Router: https://amzn.to/2Efi84h
Bosch Colt Router: https://amzn.to/2GwachE
1/4” Roundover Router Bit: https://amzn.to/2EgQRyC
3/4″ x 1-1/4″ x 1/2″HSS Onsrud Spiral Bit: http://bit.ly/2GtXlfH
3/8″ x 1-1/4″ x 3/8″ Carbide Onsrud Spiral Bit: http://bit.ly/2GtXlfH
1/2” to 3/8″ Bushing Adapter: http://bit.ly/2EfB2bn
18v Bosch Drill/Driver: https://amzn.to/2SB1kth
12v Bosch Drill/Driver: https://amzn.to/2BWJHNl
Sliding Square: https://amzn.to/2Ef0mhv
///// PHOTO, VIDEO & EDITING I USED
Canon 80D: https://amzn.to/2VHhzab
Canon 10-18mm Wide Lens: https://amzn.to/2CNa2zh
Canon 50mm Lens: https://amzn.to/2COnzq8
Canon 18-55mm Lens: https://amzn.to/2Mepfwo
Rode Video Mic: https://amzn.to/2VIBR2V
iPhone X: https://amzn.to/2VrCf64
Tripod: https://amzn.to/2R9Qq12
iPhone Tripod Mount: https://amzn.to/2SzTd09
iMac: https://amzn.to/2VrstAJ
Recording to iPhone: https://amzn.to/2C0UshJ
Recording to computer: https://amzn.to/2BWNH0j
In case you missed my other Paulk Workbench Videos, here they are!