DIY Workshop – Football Toss Game
*This DIY Workshop post is sponsored by The Home Depot.
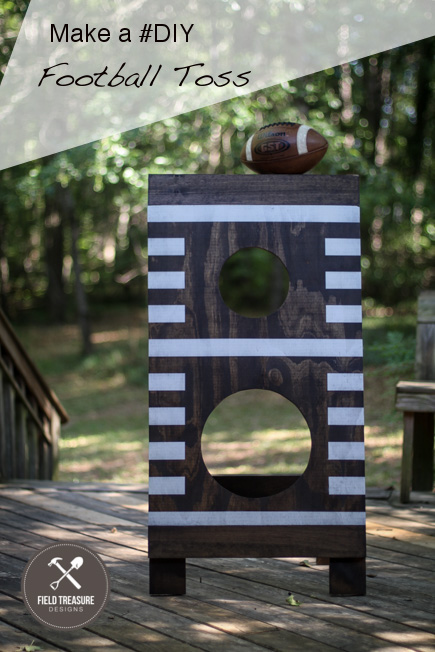
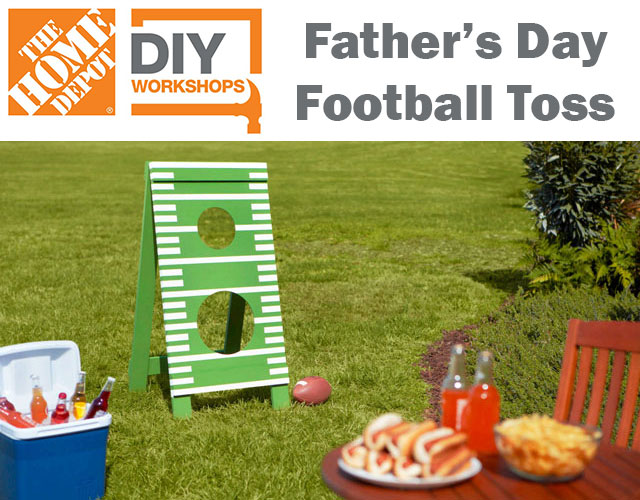
Welcome to our DIY Worshop! Today I am finally revealing my first build since last summer! I cannot believe its been that long since I have done a woodworking project. I guess that is what moving twice in 6 months will do to your life. Ok so here is the project – it’s a DIY Football Toss Game made in partnership with The Home Depot’s #DIYWorkshop and lots of other blogger friends out there. This is not only a fun and easy build, but it is also a great gift idea that has some awesome replay value as you will see below.
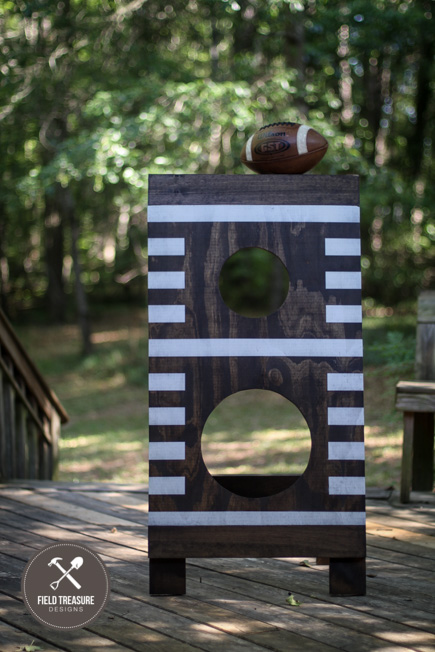
Before I show you more photos, if you want to learn more about how to build your own Football Toss, mark your calendar and attend a local Home Depot #DIYWorkshop coming up on June 18, 2016.
If you are wondering about these workshops or have never heard of them before here are some details.
- The Home Depot offers Workshops at all of their locations for do-it-yourselfers of all ages and experience levels
- There are three types of Workshops offered – Do-It-Yourself (DIY), Do-It-Herself (DIH) and Kids
- Customers can learn how to build decor projects, how to make easy home repairs and how to operate tools through demonstrations and step-by-step instructions
- Visit workshops.homedepot.com to learn more
Go get registered for the Football Toss Project so you can surprise Dad with a sweet backyard game! Just click a link below:
Fathers Day Football Toss
REGISTER HERE
Ok so lets dig in to how I made my DIY Workshop Football Toss…
Tools Used
- Circular Saw
- Table Saw
- Miter Saw
- Orbital Sander
- Drill with bit and philips driver
- 3/8″ drill bit
- Jig Saw
Materials/Supplies
- (2) 1″ x 4″ x 12″ Pine
- (1) 3/4″ x 2′ x 4′ Plywood
- 1″ Screws
- (2) 3″ door hinges
- Wood Glue
- Pencil
- String/Bowl/Circular Object (anything to help make a circle)
- Spray Paint
- Stain
Click the above image for a free download of my DIY Workshop Football Toss project plans!
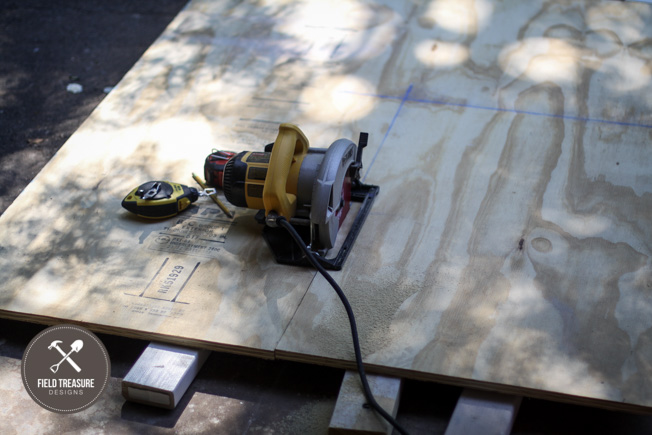
I started out by cutting out the 2′ x 3′ piece of plywood. I went with 3/4 inch thick plywood so the football toss would be strong and durable. Since I bought a big piece of plywood, I cut it down using my circular saw. If you only buy a 2’x4′ sheet of plywood, you can easily cut down the length with your table saw or your circular saw.
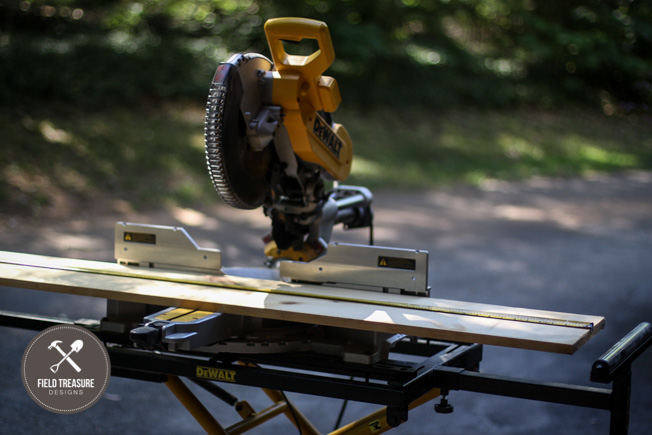
Next, I measured out for my legs. I decided to buy wider pine which meant that I had to rip down the legs to 4″ after I cut them to length using my miter saw. Either way you do it is fine. Just make sure you end up with the listed wood cuts.
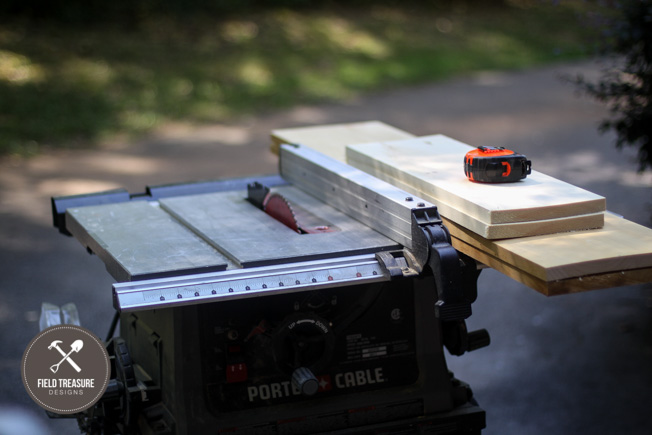
Prepping to rip my boards to make them 4″ wide. You may not need to do this if you buy the correct width boards.
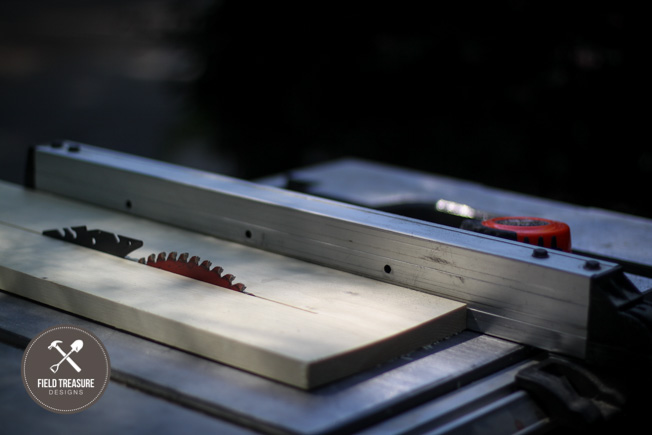
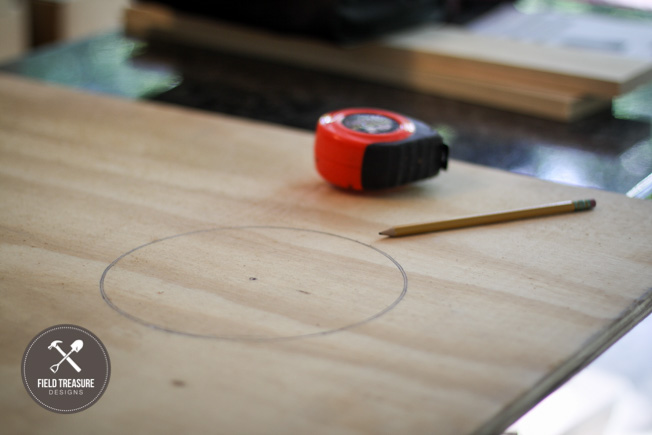
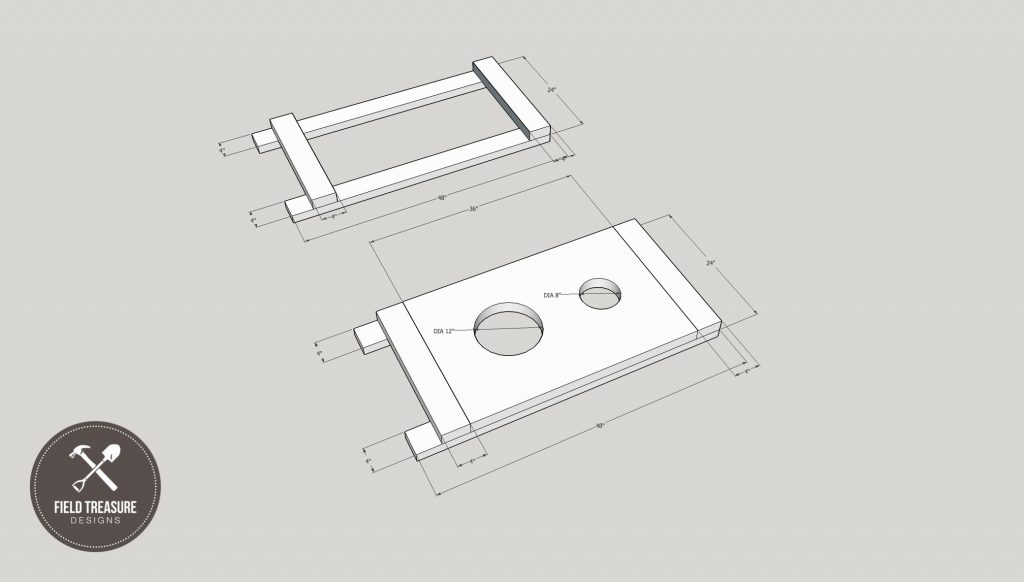
Next I worked on my plywood. I measured 9 inches from the top and 9 inches from the bottom to find my center marks. Then I used a screw and a string to make two circles. The top circle is 8 inches diameter and the bottom circle is 12 inches in diameter. That means your string needs to be half of that distance (4 inches and 6 inches) when you draw your circle.
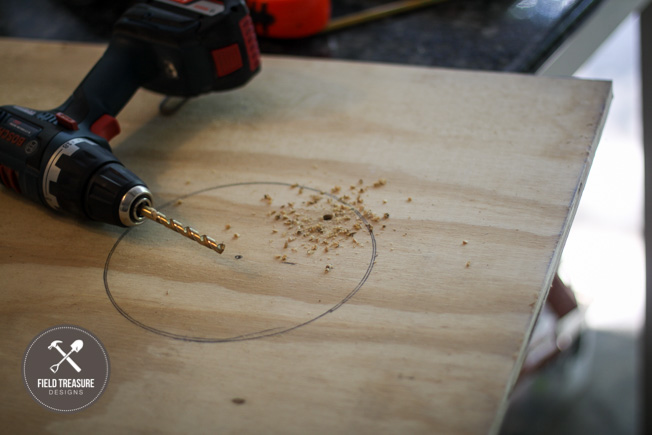
I drilled a 3/8 inch hole inside both circles as a pilot hole to be able to insert my jigsaw blade into.
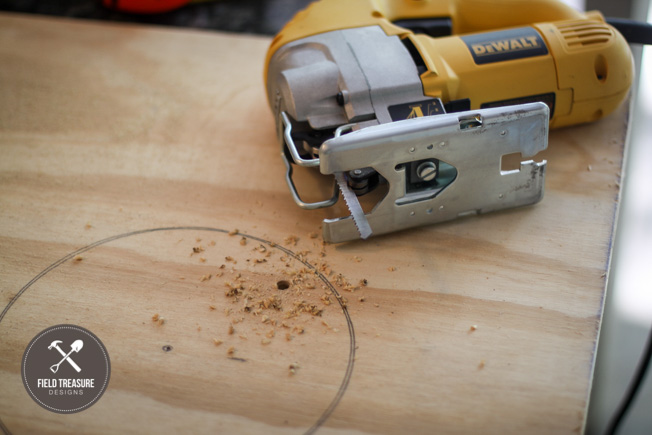
This makes it clean and easy to slide the blade in, and then slowly cut out the circles.
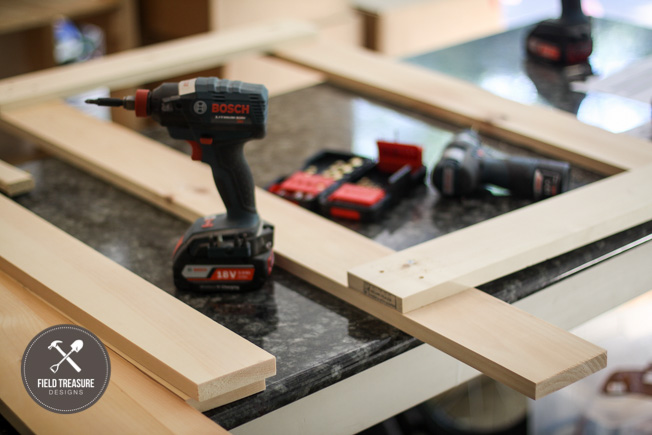
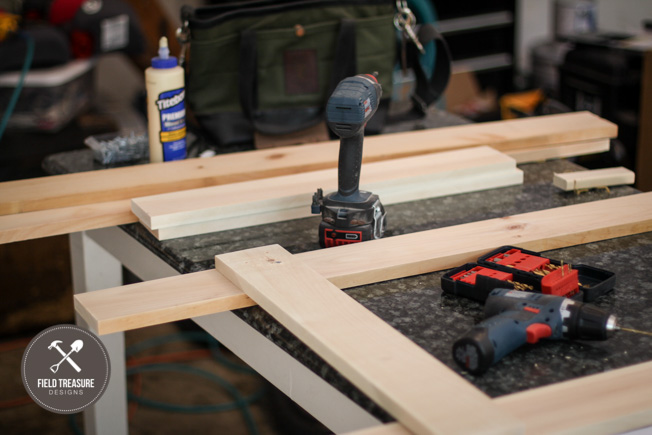
Next, I glued and screwed together the frames as shown in the diagram.
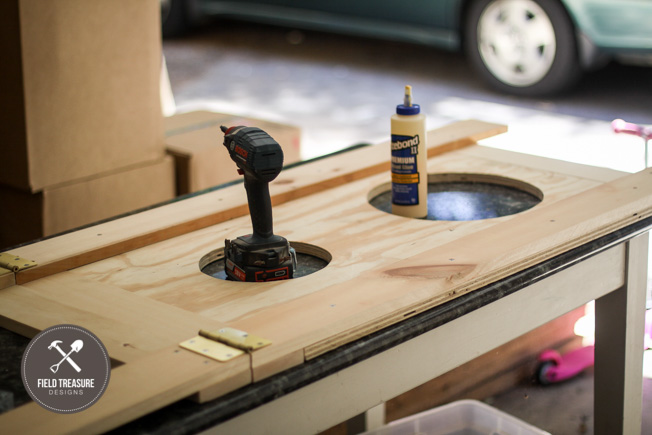
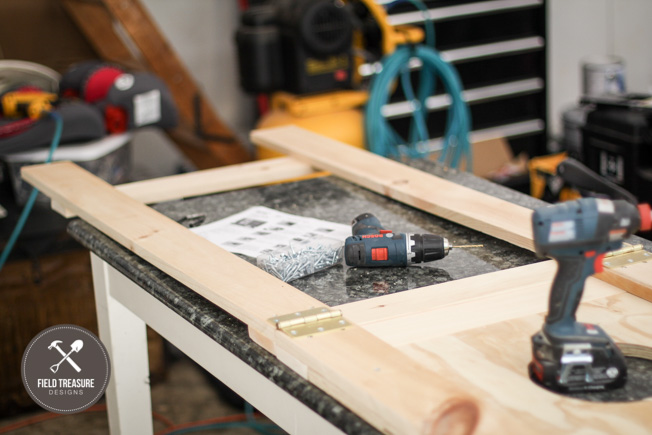
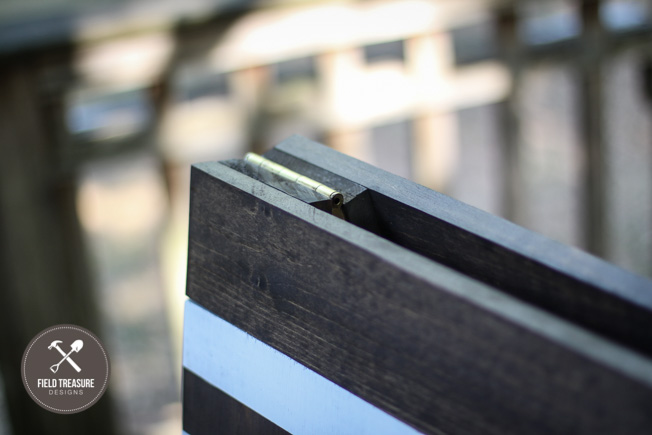
I decided to go with residential door hinges for strength and durability. They easily screwed together with my 1″ screws.
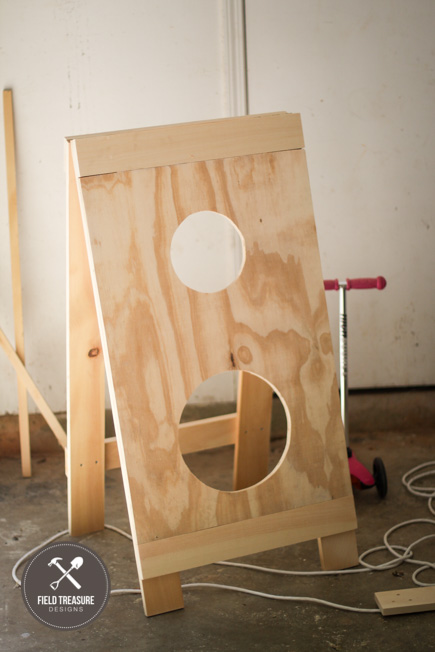
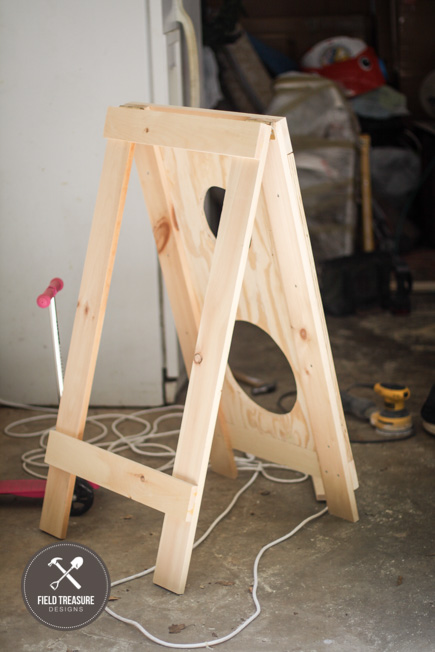
Boom! All put together.
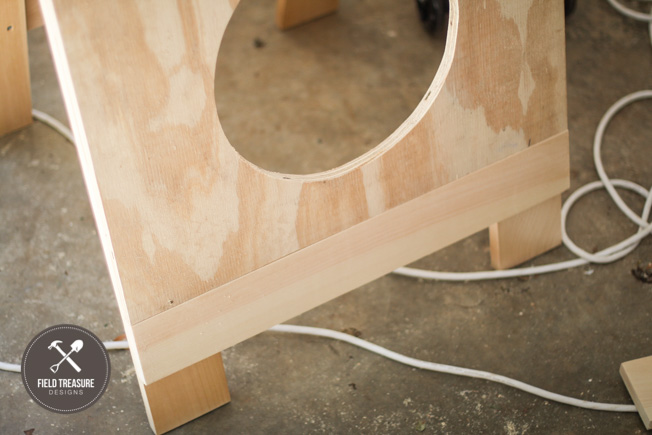
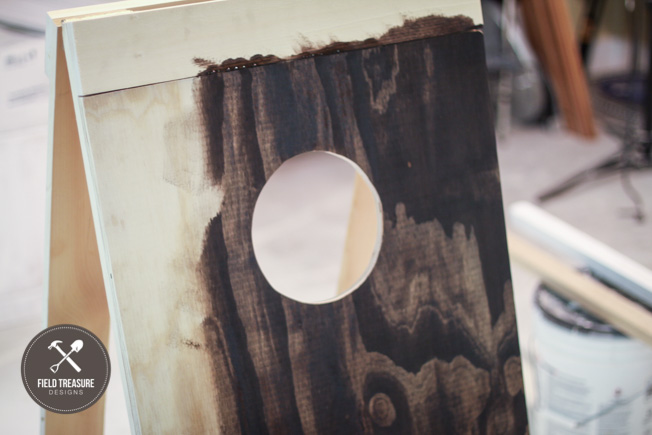
Lastly, I stained the entire project with an “espresso” color Minwax stain. I then taped the lines off with painters tape and gently spray painted the lines.

Tada! What do you think? Not too shabby.
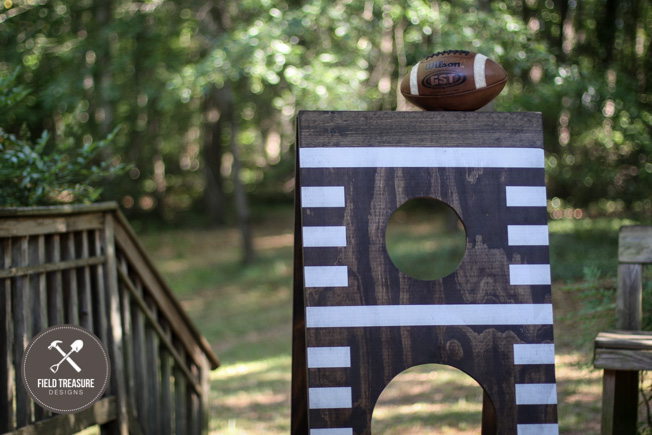
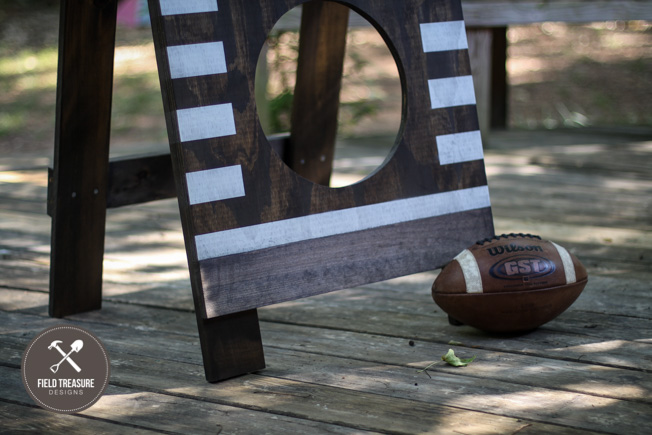
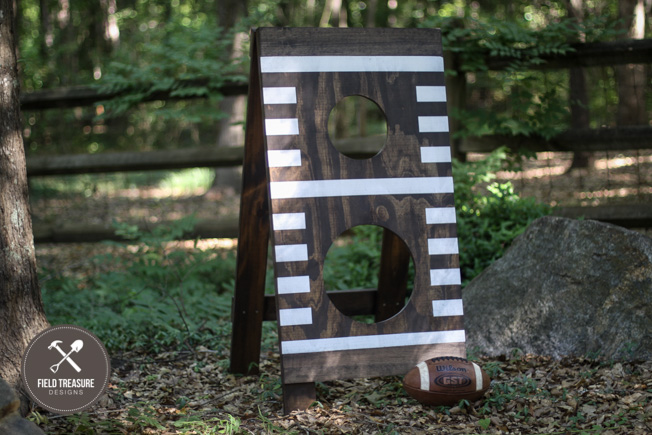
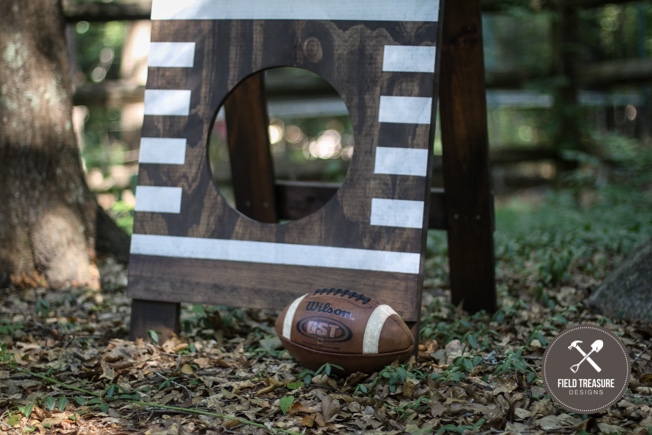
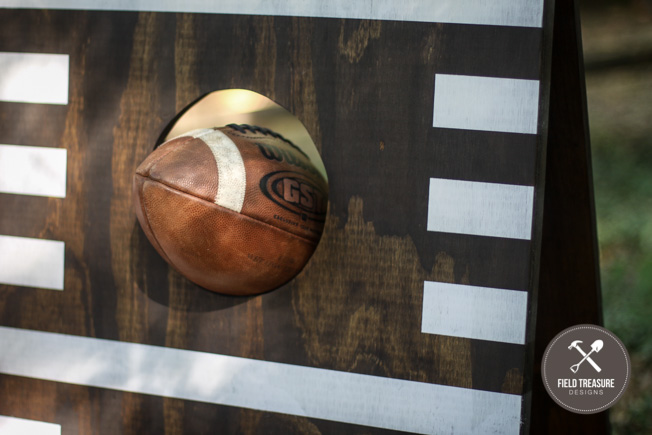
Score! If you make it into the top (smaller) hole, you get serious props.
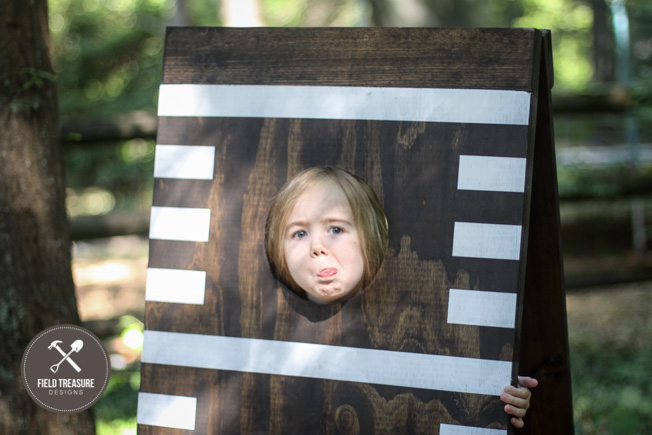
We also discovered that my kids love poking their heads out of the holes for pictures. I fun surprise!
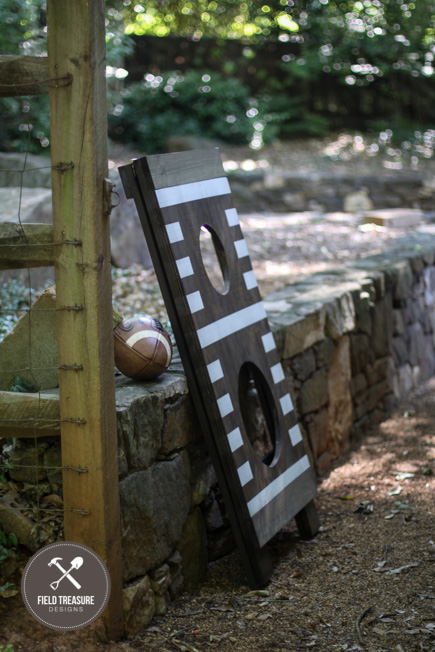
Also, this design folds flat for easy portability to the yard and for garage storage if you want to hang it on a wall.
I’m not the only one who built a #DIYWorkshop Football Toss! Check out all these awesome Builder/Bloggers to see their custom versions of the DIY Workshop Football Toss project…
- Fix This Build That
- Field Treasure Designs
- John Malecki
- The Handmade Home
- Rogue Engineer
- Mom 4 Real
- House by Hoff
- Her Toolbelt
- Life On Virginia Street
- Infarrantly Creative
- Cherished Bliss
- Pneumatic Addict
- Here Comes Sun
- Remodelando La Casa
- Build Basic
- House of Wood
- Confessions of a Serial Do It Yourself Blog
- Our Pinteresting Family
- Salvage Sister and Mister
- H2O Bungalow
- That’s My Letter
- Finding Home Farms
- I am a Homemaker
- Reality Daydream
Lastly, don’t forget about The Home Depot’s #DIYWorkshop coming up soon at a store near you! The DIY Workshop will be held at your local Home Depot on June 18, 2016. You can follow this link for more details and to register for the class ahead of time:
Fathers Day Football Toss
REGISTER HERE
I acknowledge that The Home Depot is partnering with me to participate in this Workshops Program (the “Program”). As a part of the Program, I am receiving compensation in the form of products and services, for the purpose of promoting The Home Depot. All expressed opinions and experiences are my own words. My post complies with the Word Of Mouth Marketing Association (WOMMA) Ethics Codes and applicable Federal Trade Commission guidelines.


The stain you used looks great! I love the picture of the sweet face poking through too. Our twins kept doing that as well. 🙂
Thanks, Megan! Yea that was actually my favorite part having my little ones posing for pictures.