DIY Floating Pipe Shelves!
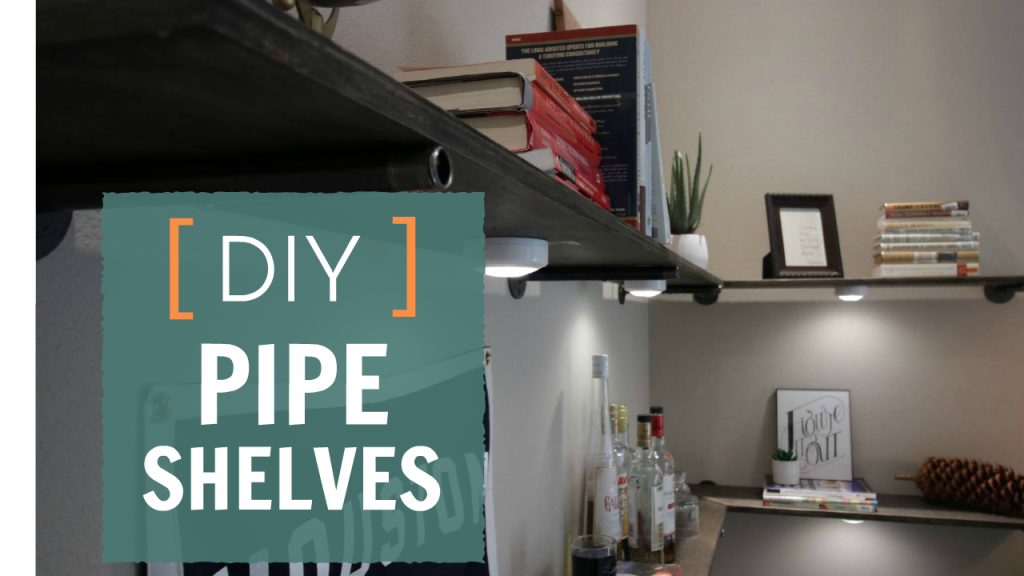
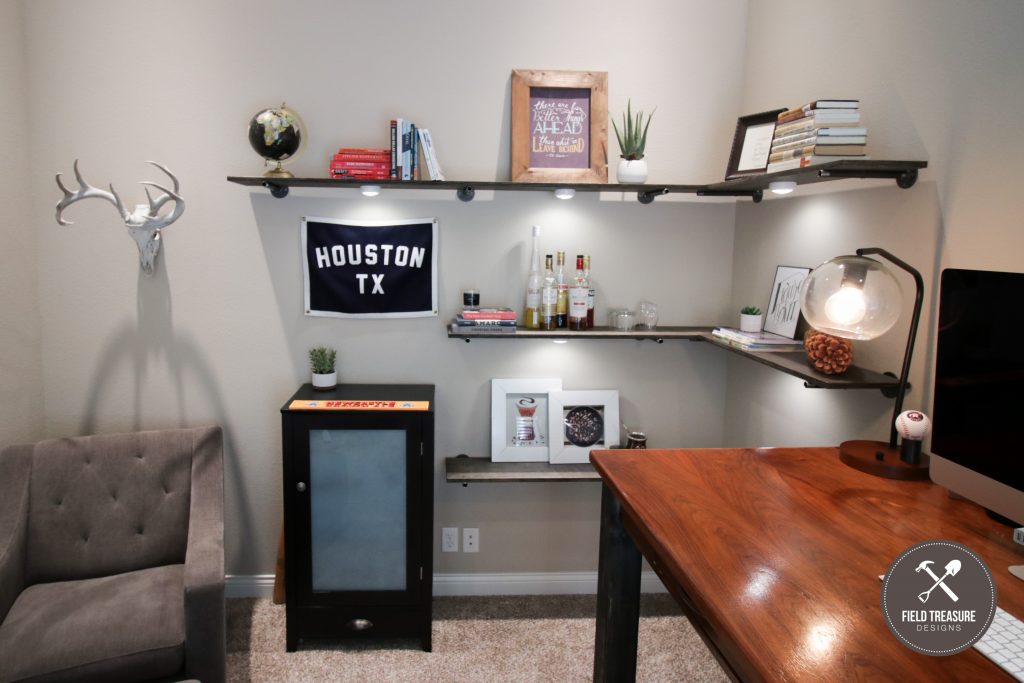
I’ve decided to completely re-do my office and as part of the overhaul, I decided to upgrade from a standard bookshelf and make my own DIY Pipe Floating Shelves. This project only took a couple of days, but you can easily do it in a day!
Before we get started, make sure to follow me on YouTube, Facebook and Instagram to keep up with all my latest projects!
I’ve got a full video showing you how to did it. Check it out!!
Here some details:
////// MATERIALS USED
(1) Sheet of 3/4in plywood
(13) 1/2” diameter, 10” length Black Pipe
(13) 1/2” diameter Black Pipe Flanges
(26) 2 1/2” Deck Screws
(13) 1 1/4” Wood Screws (with flat ring)
LED Lights: https://amzn.to/2LRA9aU
MinWax Interior Stain, Ebony: https://amzn.to/2GU3mDu
////// TOOLS USED
Circular Saw: https://amzn.to/2VrnoIy
Kreg Saw Guide: https://amzn.to/2SALn6u
18v Drill/Driver: https://amzn.to/2SB1kth
12v Drill/Driver: https://amzn.to/2BWJHNl
48” Level: https://amzn.to/2VqMMhM
Miter Saw: https://amzn.to/2SCxN2y
Sander: https://amzn.to/2SBg5My
Kreg K5 Pocket Hole Jig: https://amzn.to/2COmTRC
Colt Router: https://amzn.to/2s7hVt5
1/4” Round Over Bit (For router): https://amzn.to/2C0Ti5R
Stain Sponge: https://amzn.to/2COlLxq
////// PHOTO, VIDEO & EDITING I USED
Canon 70D: https://amzn.to/2R5uLa9
Camera 10-18mm Wide Lens: https://amzn.to/2CNa2zh
Camera 50mm Lens: https://amzn.to/2COnzq8
iPhone X: https://amzn.to/2VrCf64
Tripod: https://amzn.to/2R9Qq12
iPhone Tripod Mount: https://amzn.to/2SzTd09
iMac: https://amzn.to/2VrstAJ
Recording to iPhone: https://amzn.to/2C0UshJ
Recording to computer: https://amzn.to/2BWNH0j